

butter icing cake designs video
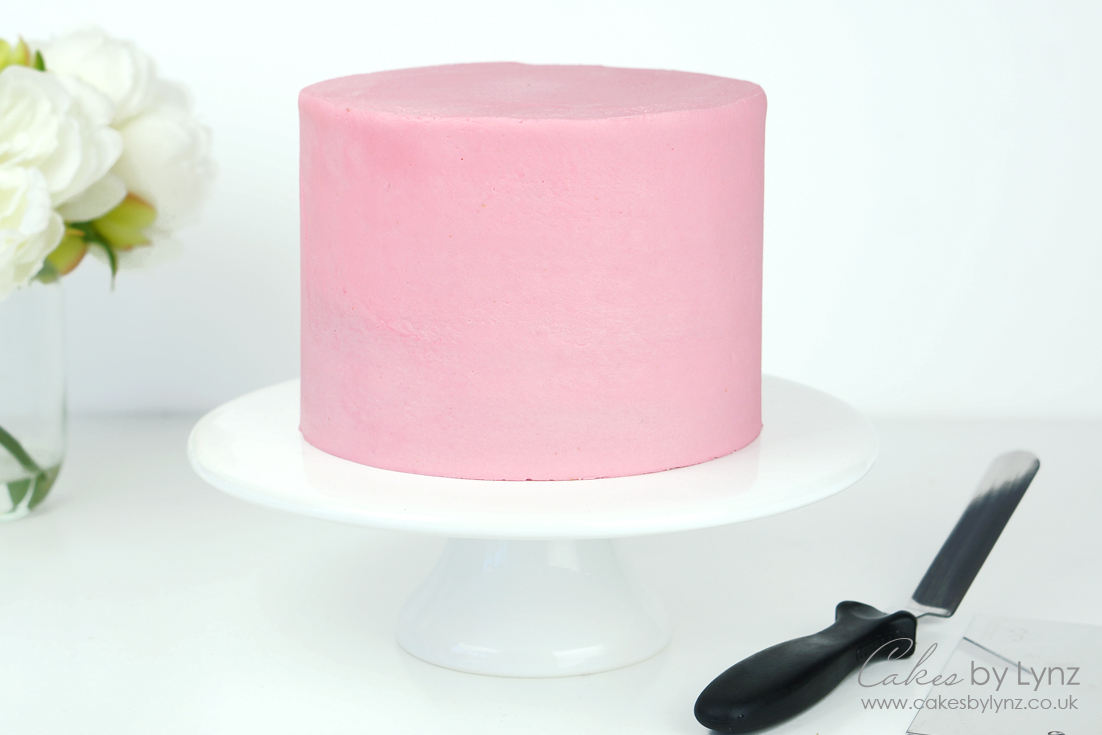
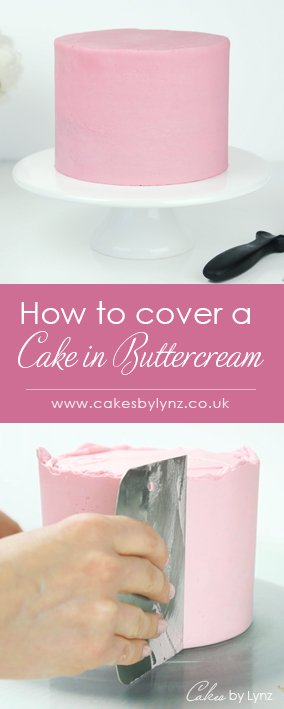
If you're new to cake decorating or maybe looking to advance to larger cakes from cupcakes buttercream is a great option as a covering for your cakes, whether you are looking to decorate directly onto the buttercream or use this as a base underneath fondant / sugarpaste. This week I thought I would create a tutorial to show you exactly how I cover my cakes in buttercream. Now there are different methods that people like to use to get smooth sides and sharp edges but this is the technique I use and that has always worked for me.
So if you want to see the full tutorial just head to the video at the bottom of this post.
My buttercream of choice is usually American Buttercream as this is easy to make and I really love the sweetness of the taste. Plus you only need butter, icing sugar (or confectioners sugar as is also known), your flavouring and I like to add a few table spoons of milk, then just whisk it up into a fluffy consistency ready to add to your cake. You will find my buttercream recipe here!
When covering my cakes there are a few steps that I always stick to and these are also the same if I'm using ganache. The biggest tip I can give you is to start with level layers of cake. This makes it so much easier to get a nice stable cake with straight sides. I also cover my cake in 2 layers of buttercream.
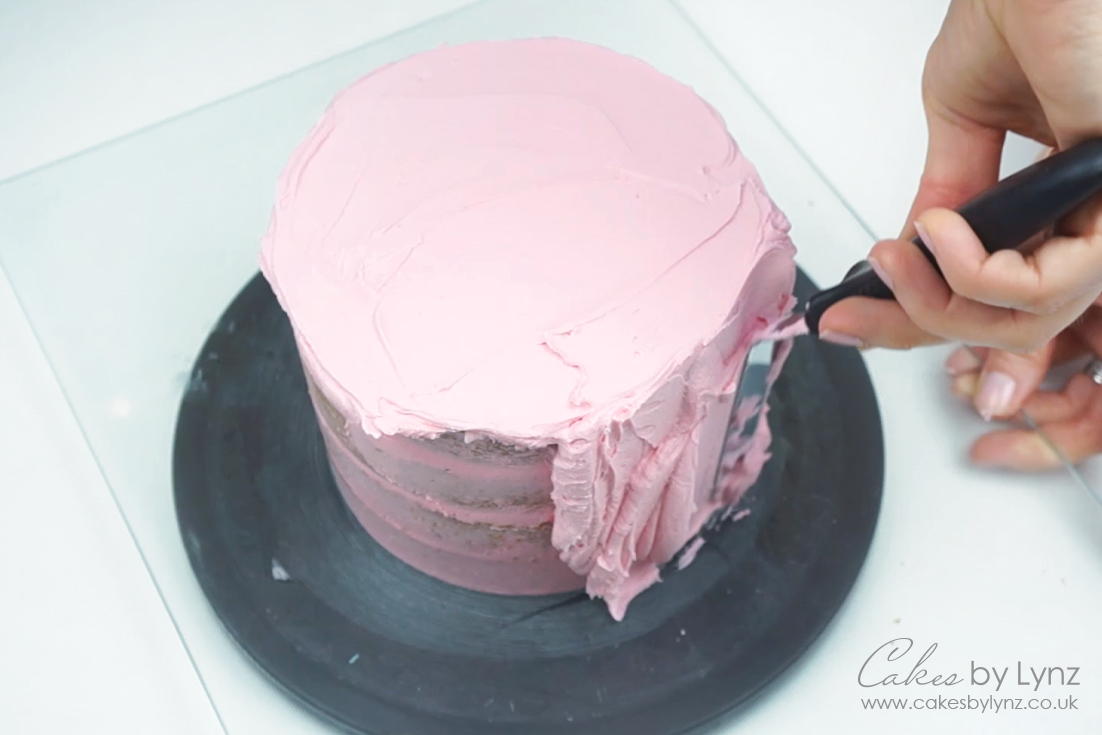
The first layer being a crumb coat. The crumb coat is important as it locks in any loose crumbs you might have on your cake and it also gives you a nice smooth base for adding your final layer of buttercream. Once I have applied the crumb coat, which usually resembles a semi naked cake, I pop this into the fridge for around 15 – 20 minutes for that buttercream to firm up. I then apply a thicker outer layer of buttercream and set about making the finish as smooth as I can.
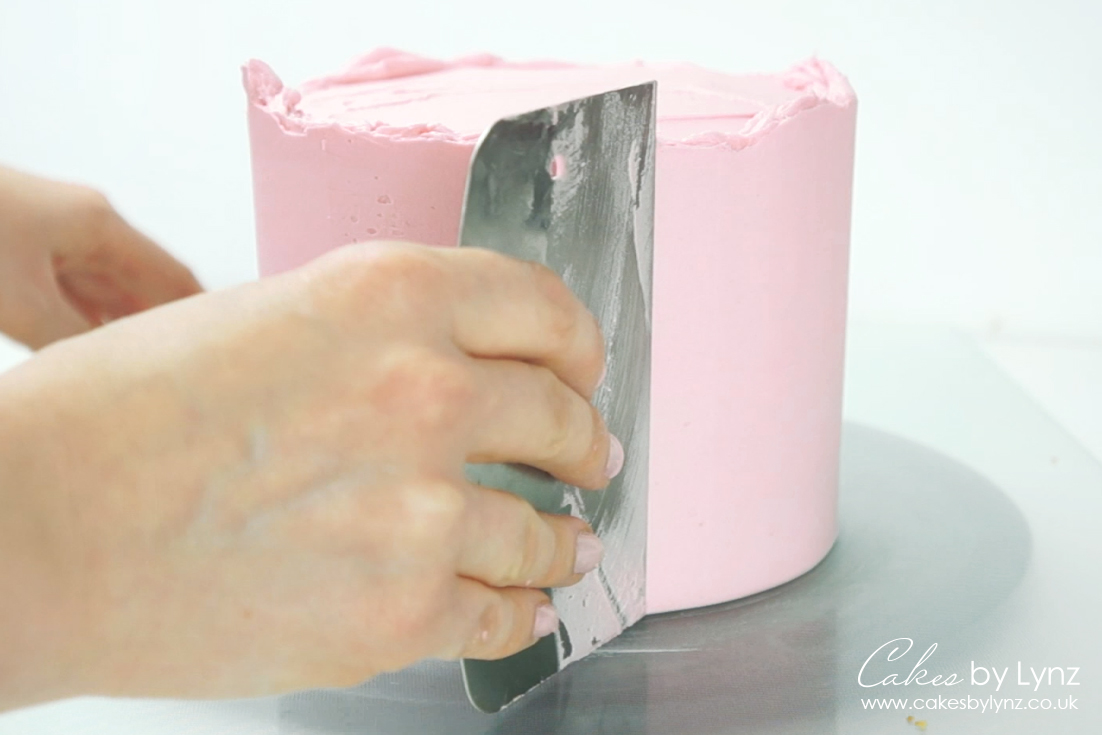
If you are finding it a little tricky to smooth the sides, especially if your buttercream is a little stiff you can always heat up your smoothing tool. Now this only works if you are using a metal smoother, but by running it under a hot tap or popping the long edge in some boiling water, when you run the smoother over the side of the cake it just slightly melts the surface of the buttercream helping to get out any imperfections. Just make sure you wipe off any excess water before placing it against your cake.
Below is the full tutorial where I run through in more detail how I prepare my cake, fill my layers and add my buttercream to the side. I really hope you will find this tutorial useful.
Also don't forget if you haven't already you can subscribe to my YouTube channel for more Free cake decorating video tutorials, including how I cover my cakes in fondant.
Tools I used
I have put a list below showing all the tools that I used throughout this video or if you would like to see all my favourite cake decorating tools just click here: https://www.amazon.co.uk/shop/cakesbylynz
Glass Cutting Board: https://amzn.to/2BLqcaE
Turn Table: http://amzn.to/2CfVJUl
Metal Scrapper Tool (small): http://amzn.to/2BNjf7v
Offset spatula (small): https://amzn.to/2yD7btn
Piping bags: http://amzn.to/2xqeDlM
Raspberry Colour Splash: https://amzn.to/2XSvYF2
~ Please note that some of links above may be affiliate links. If you click the link and purchase any item through that link, I will receive a small commission from the website but this does NOT add any additional costs to you. Thank you so much for supporting this blog x ~
Plus why not save this tutorial for later and pin it to Pinterest
Thanks for reading!

butter icing cake designs video
Source: https://www.cakesbylynz.co.uk/index.php/2020/05/how-to-cover-frost-a-cake-with-buttercream/
Posted by: conanthowen1991.blogspot.com
0 Response to "butter icing cake designs video"
Post a Comment